|
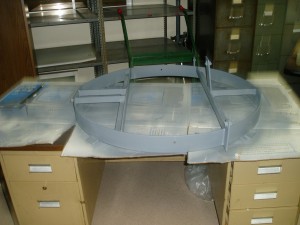
Since the dish was used (acquired from a radio station)
it required some work. Here is the mount ring in the lab being painted
with anti-rust paint.
|
|
|
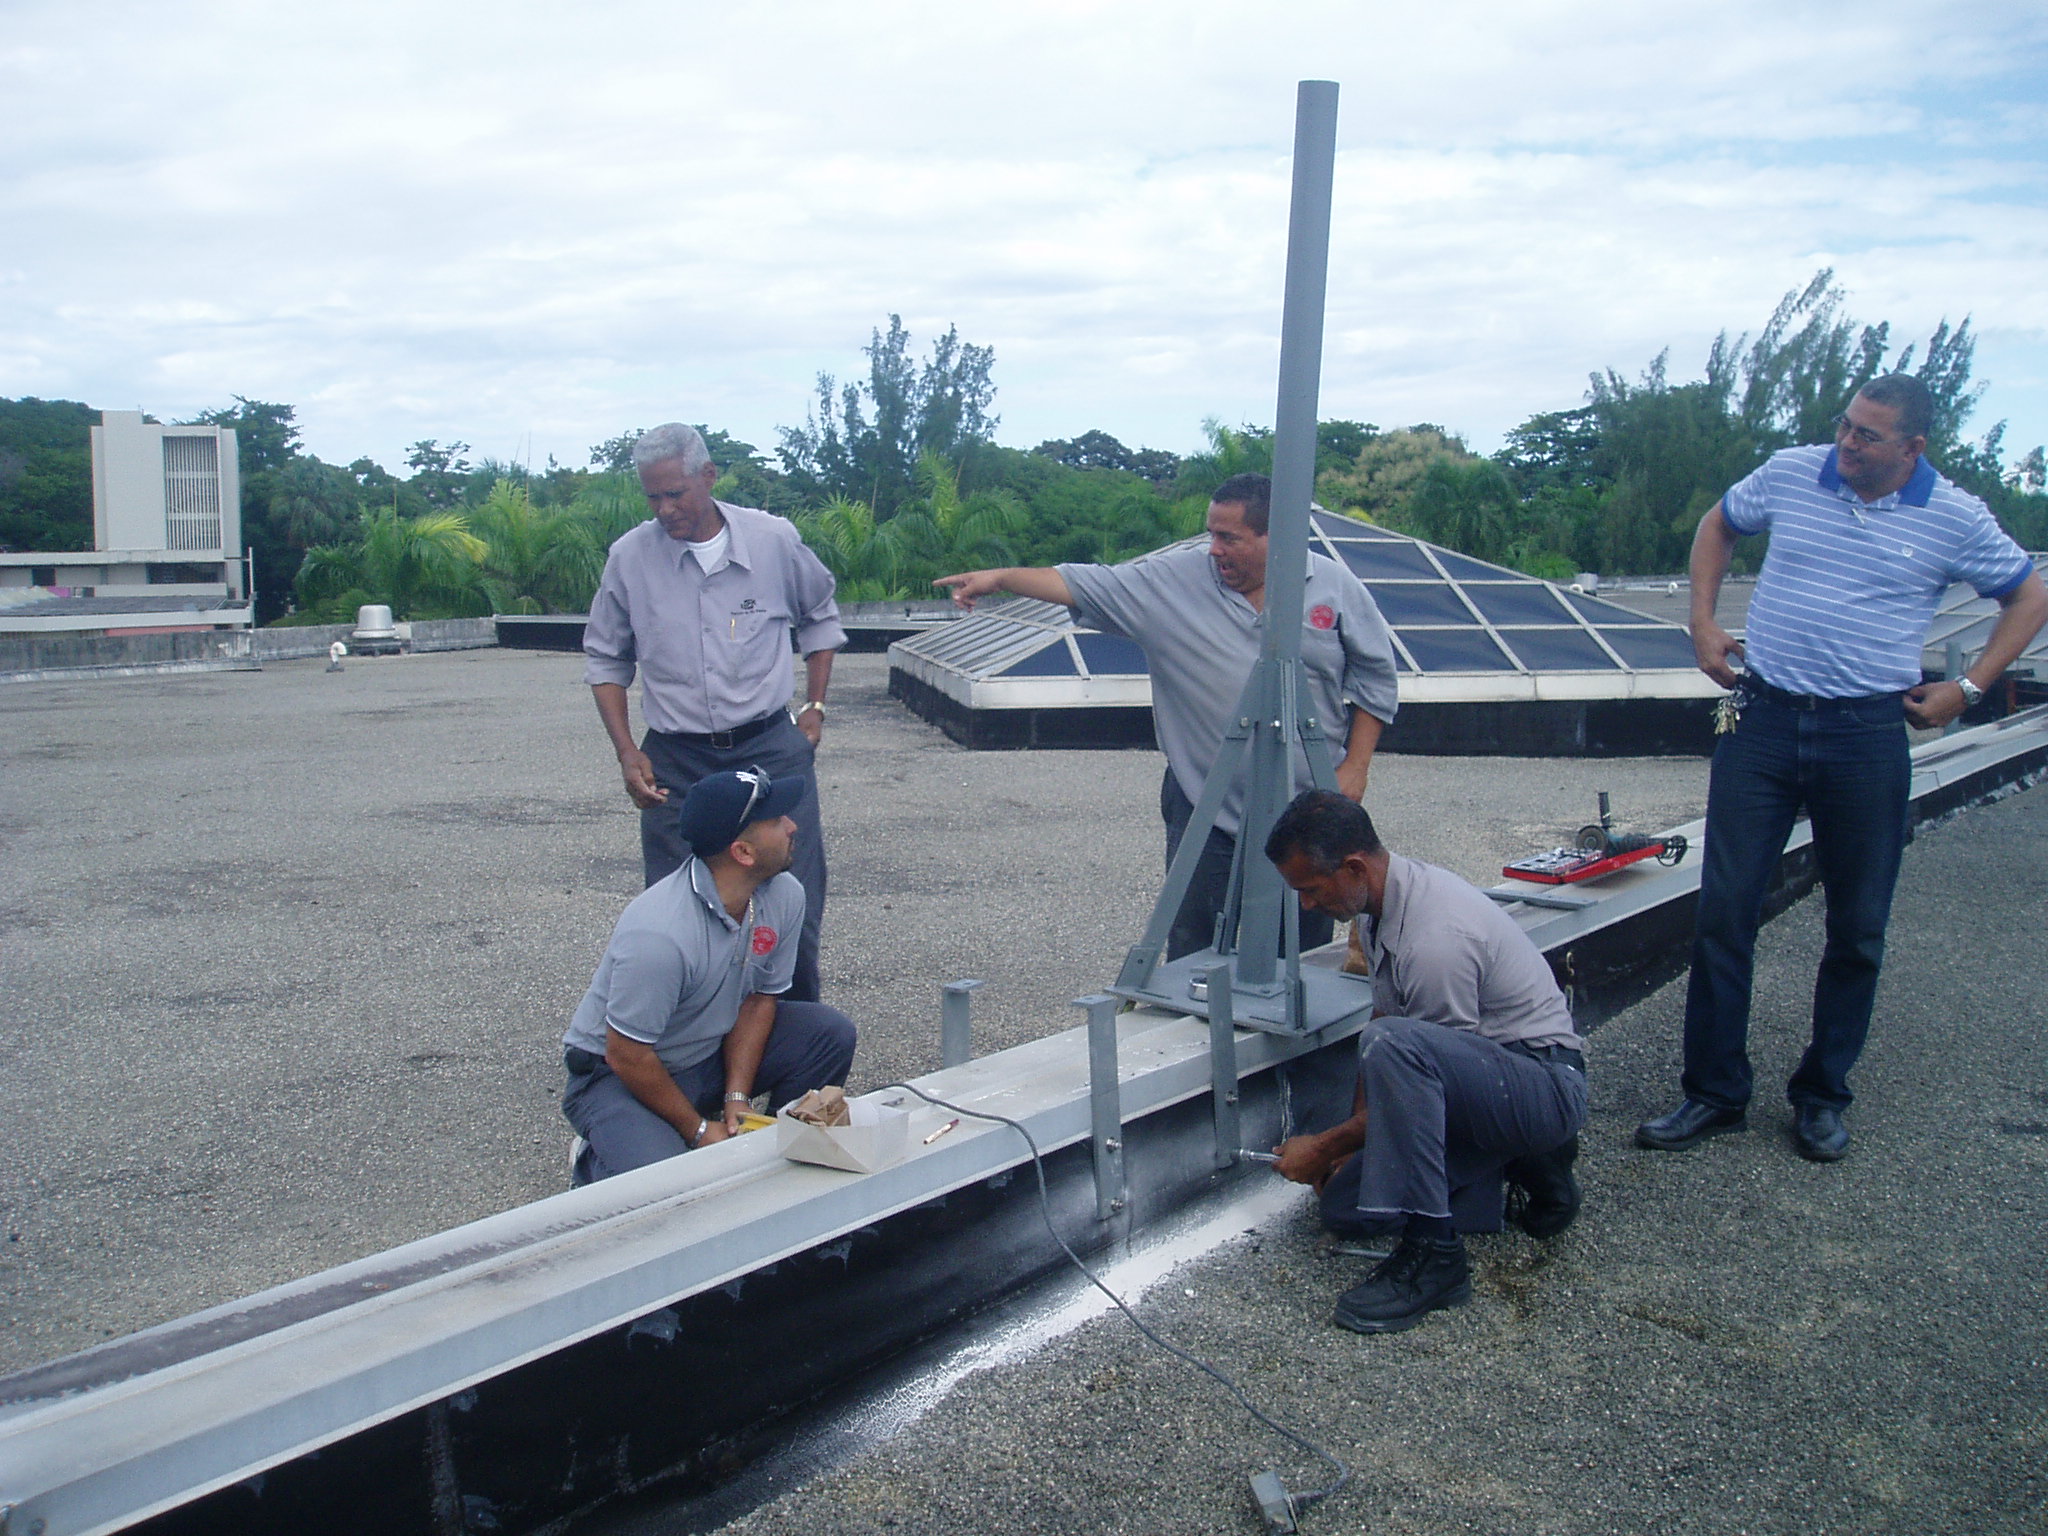
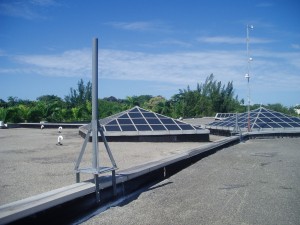
Installation of the base for the pole on the roof of our building.
|

|
|
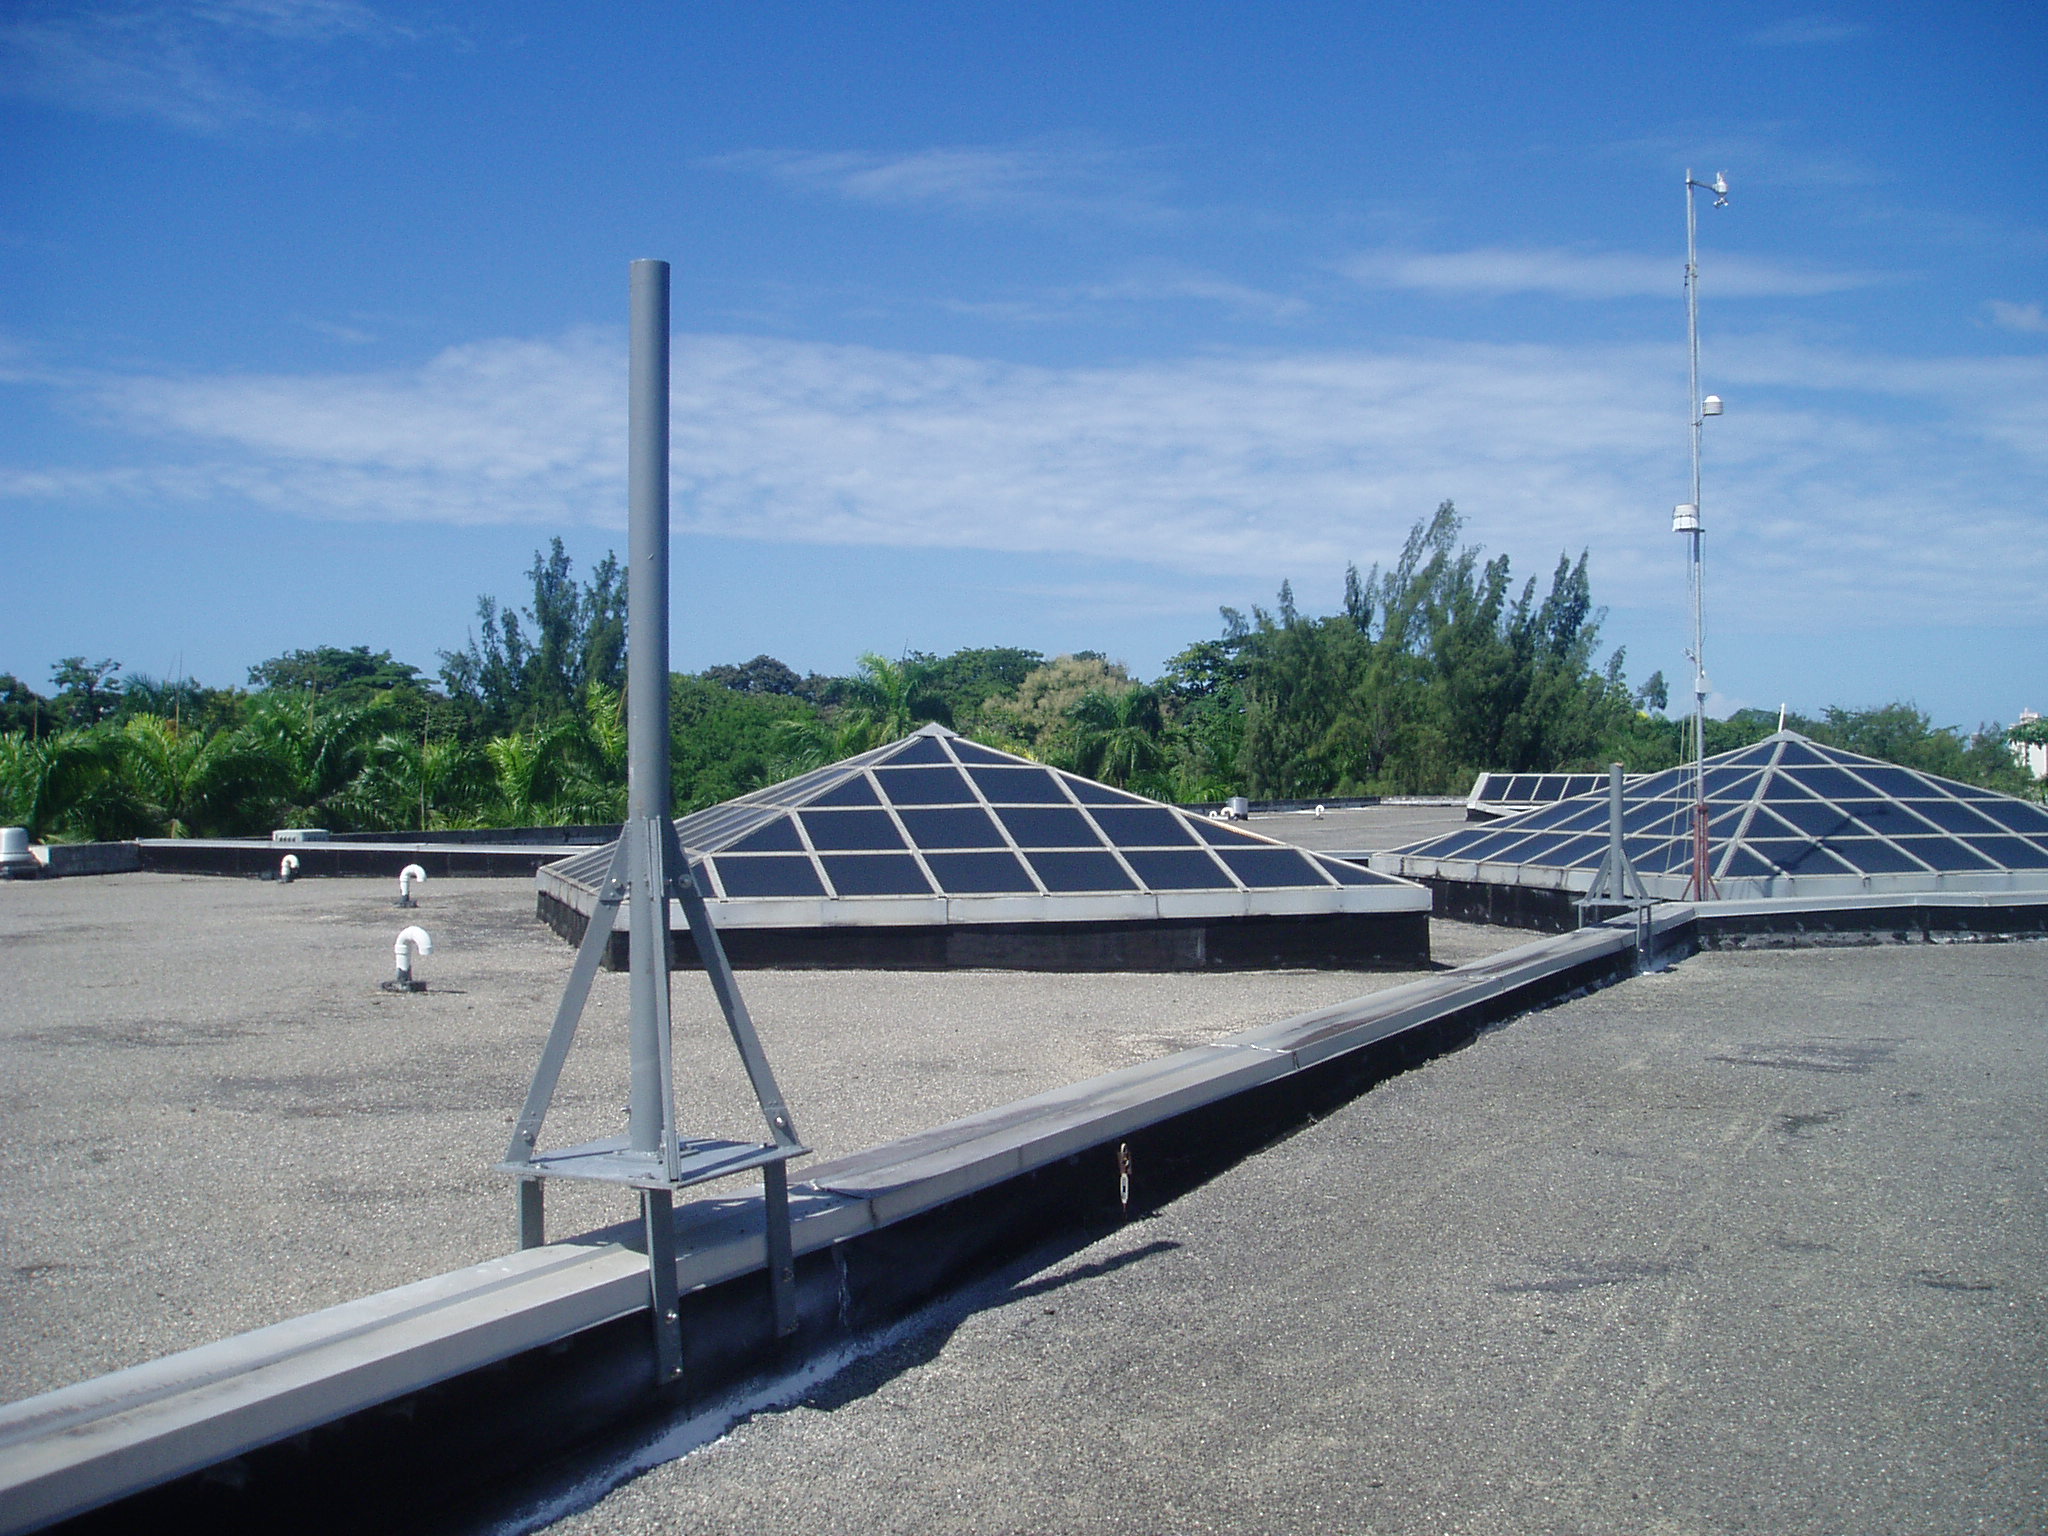
The installation of the base is completed, but actually the pole is too
long.
|
|
|
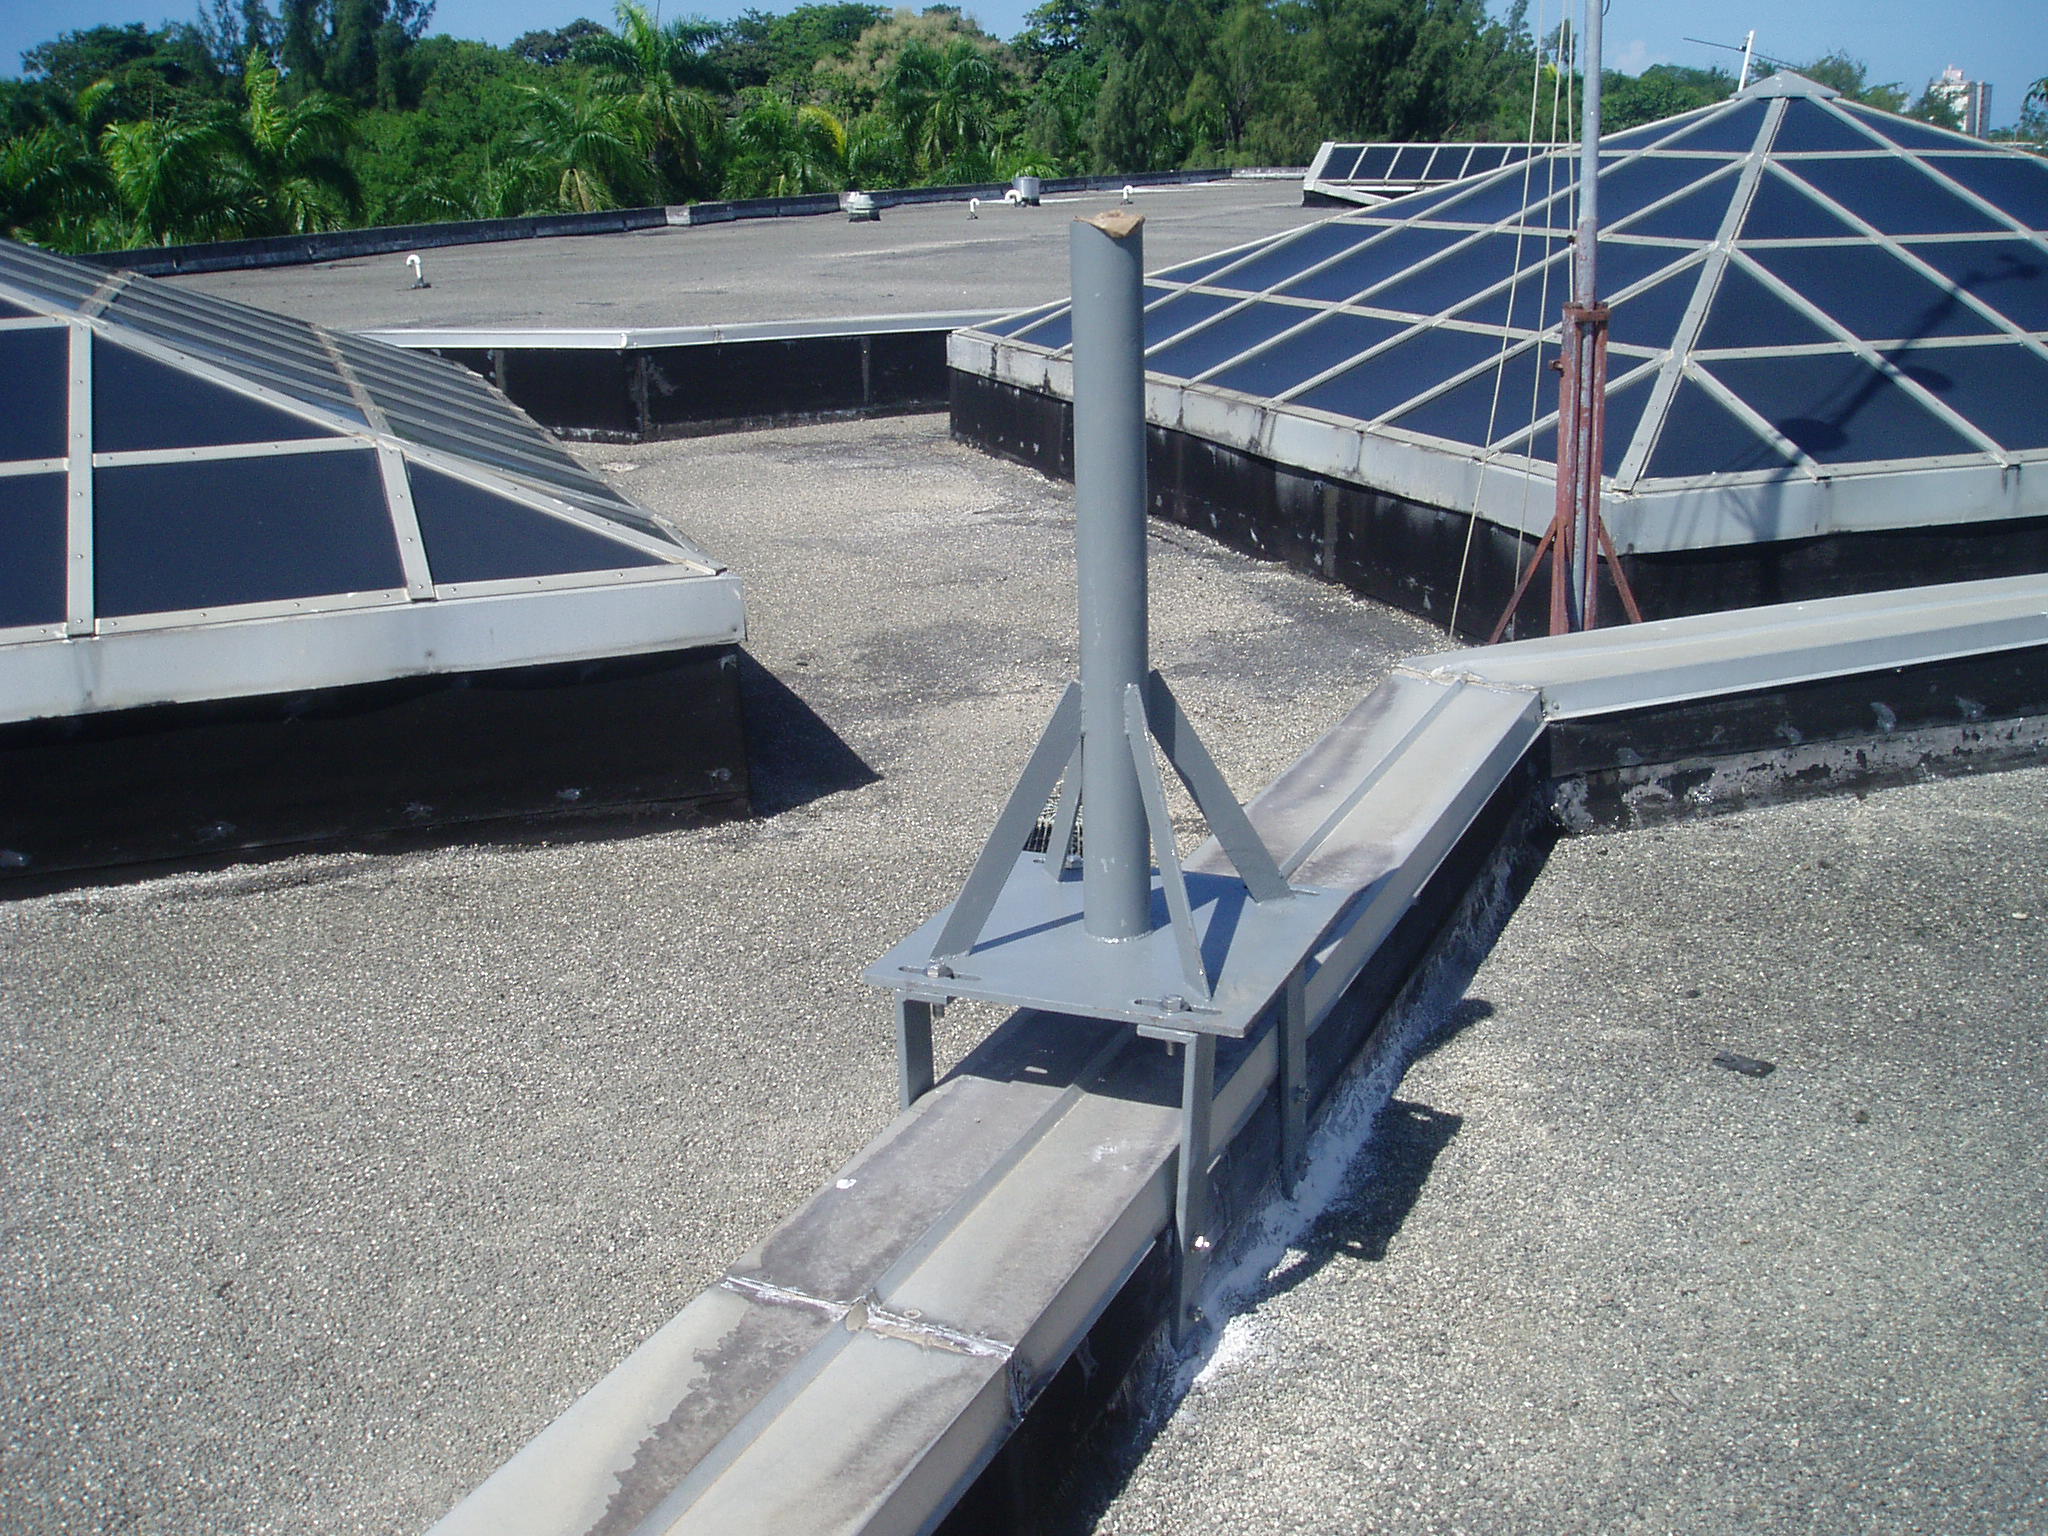
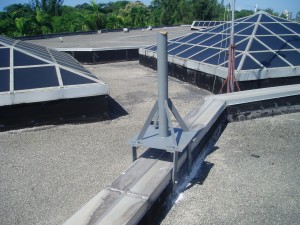
This is the base in its final form, with the pole cut such that
it measures 6 feet from the floor to the top.
|
|
|
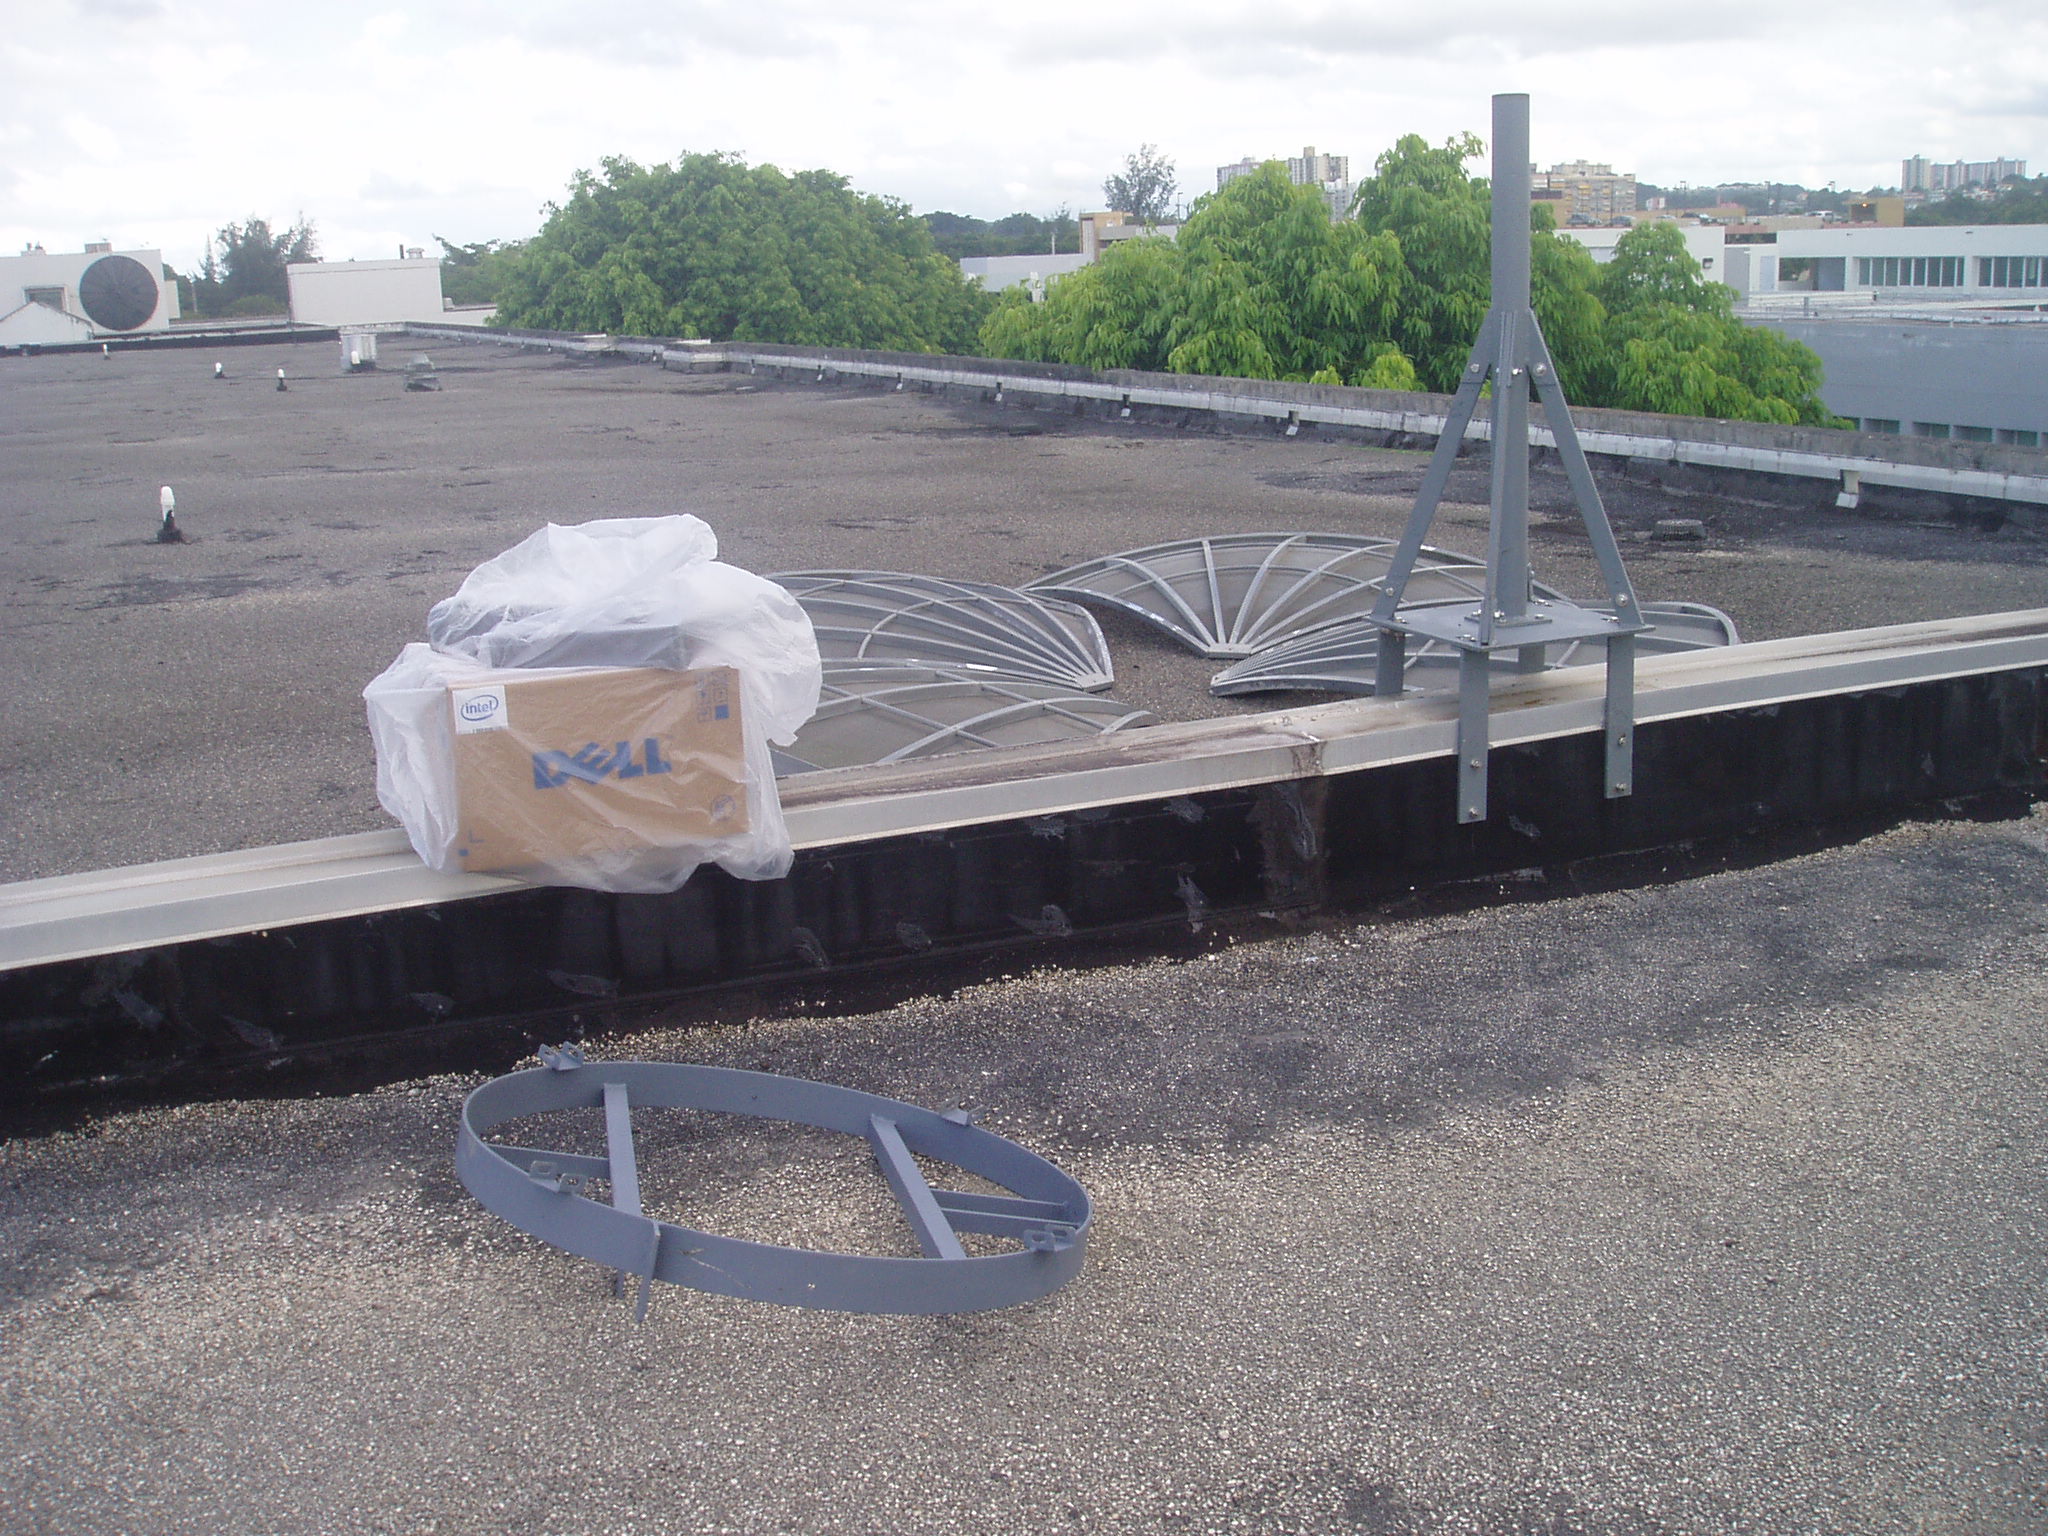
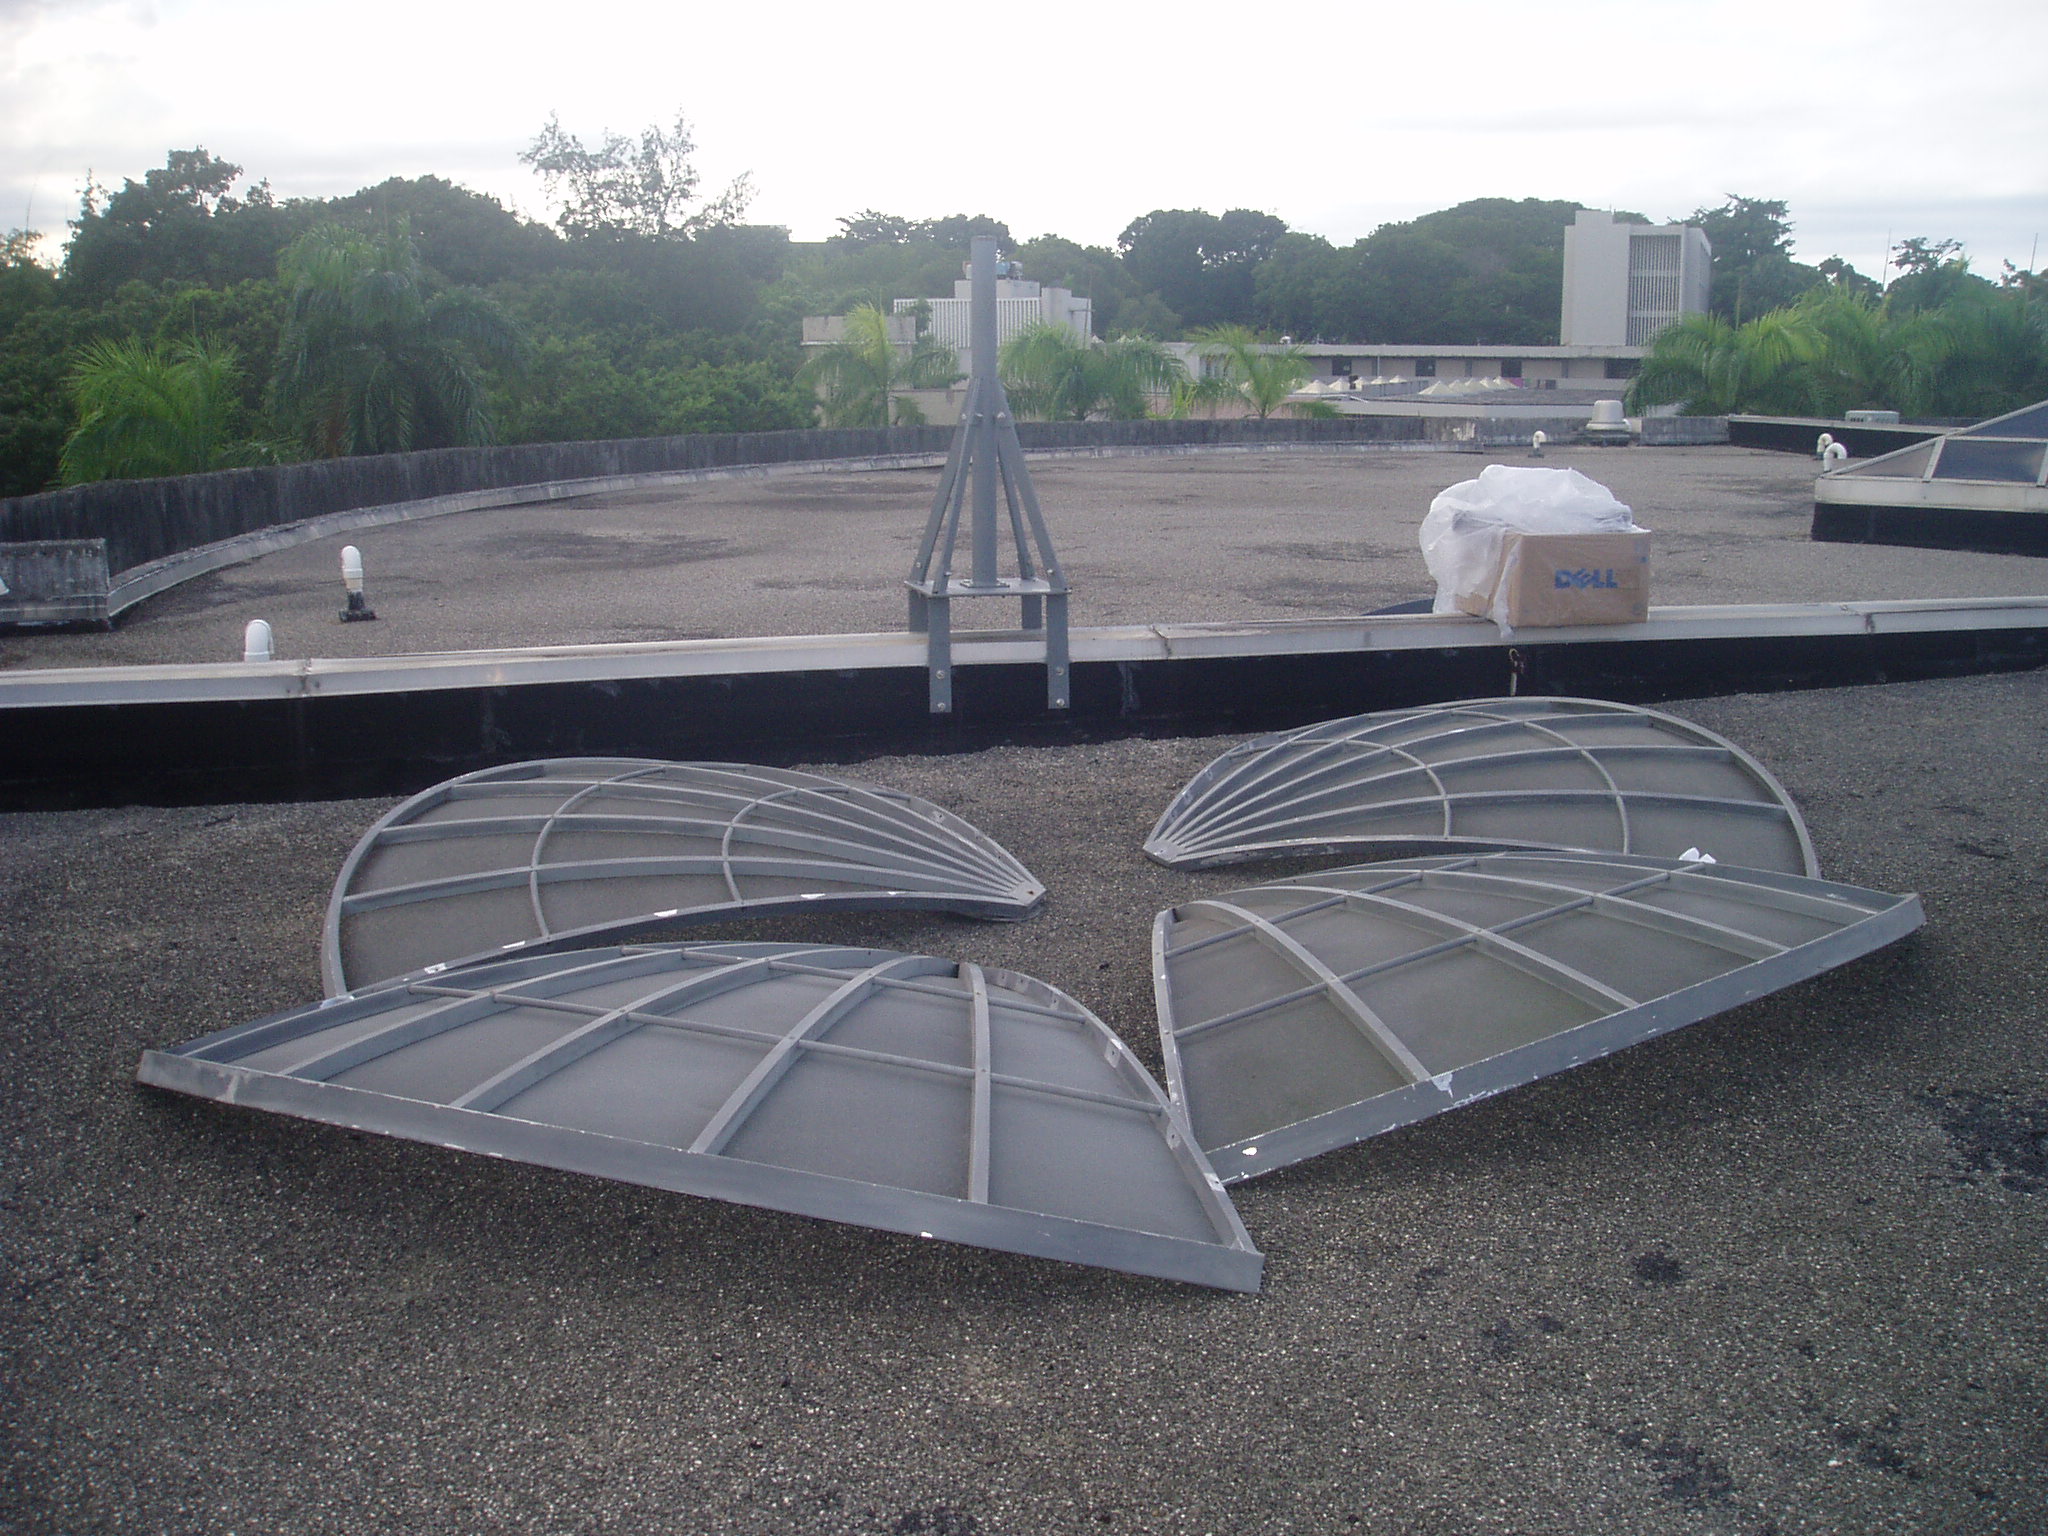
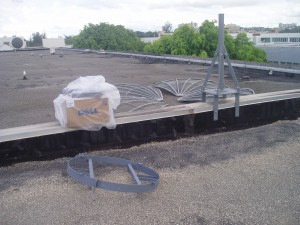
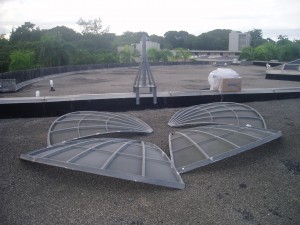
A view of what was going to be our working environment for
the next two days. The box contains the rest of the pieces to assemble
the dish. It is wrapped in a plastic bag because here in Puerto Rico
it can rain at any moment.
|
|
|
A view from the other side, showing the dish ready to be assembled.
|
|
|
At this point all the inclination-related angles had been
properly adjusted. The next step was the dish, but our first day was over.
|
|
|
The first step in the second day was assembling the dish, and then
after that measure the depth and the diameter as accurateyly as
possible in order to determine the focus and the proper position
of the LNB.
|
|
|
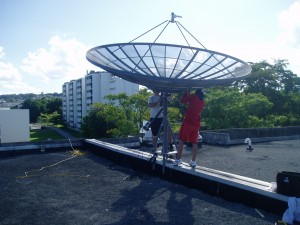
The dish has been mounted on the ring and it is being firmly secured.
We use an actuator and, since we had already adjusted all the angles
in the ring, it was a simple matter to bring the dish to its proper
inclination. The final part is to move it around, manually,
to find the proper azimuth.
|
|
|
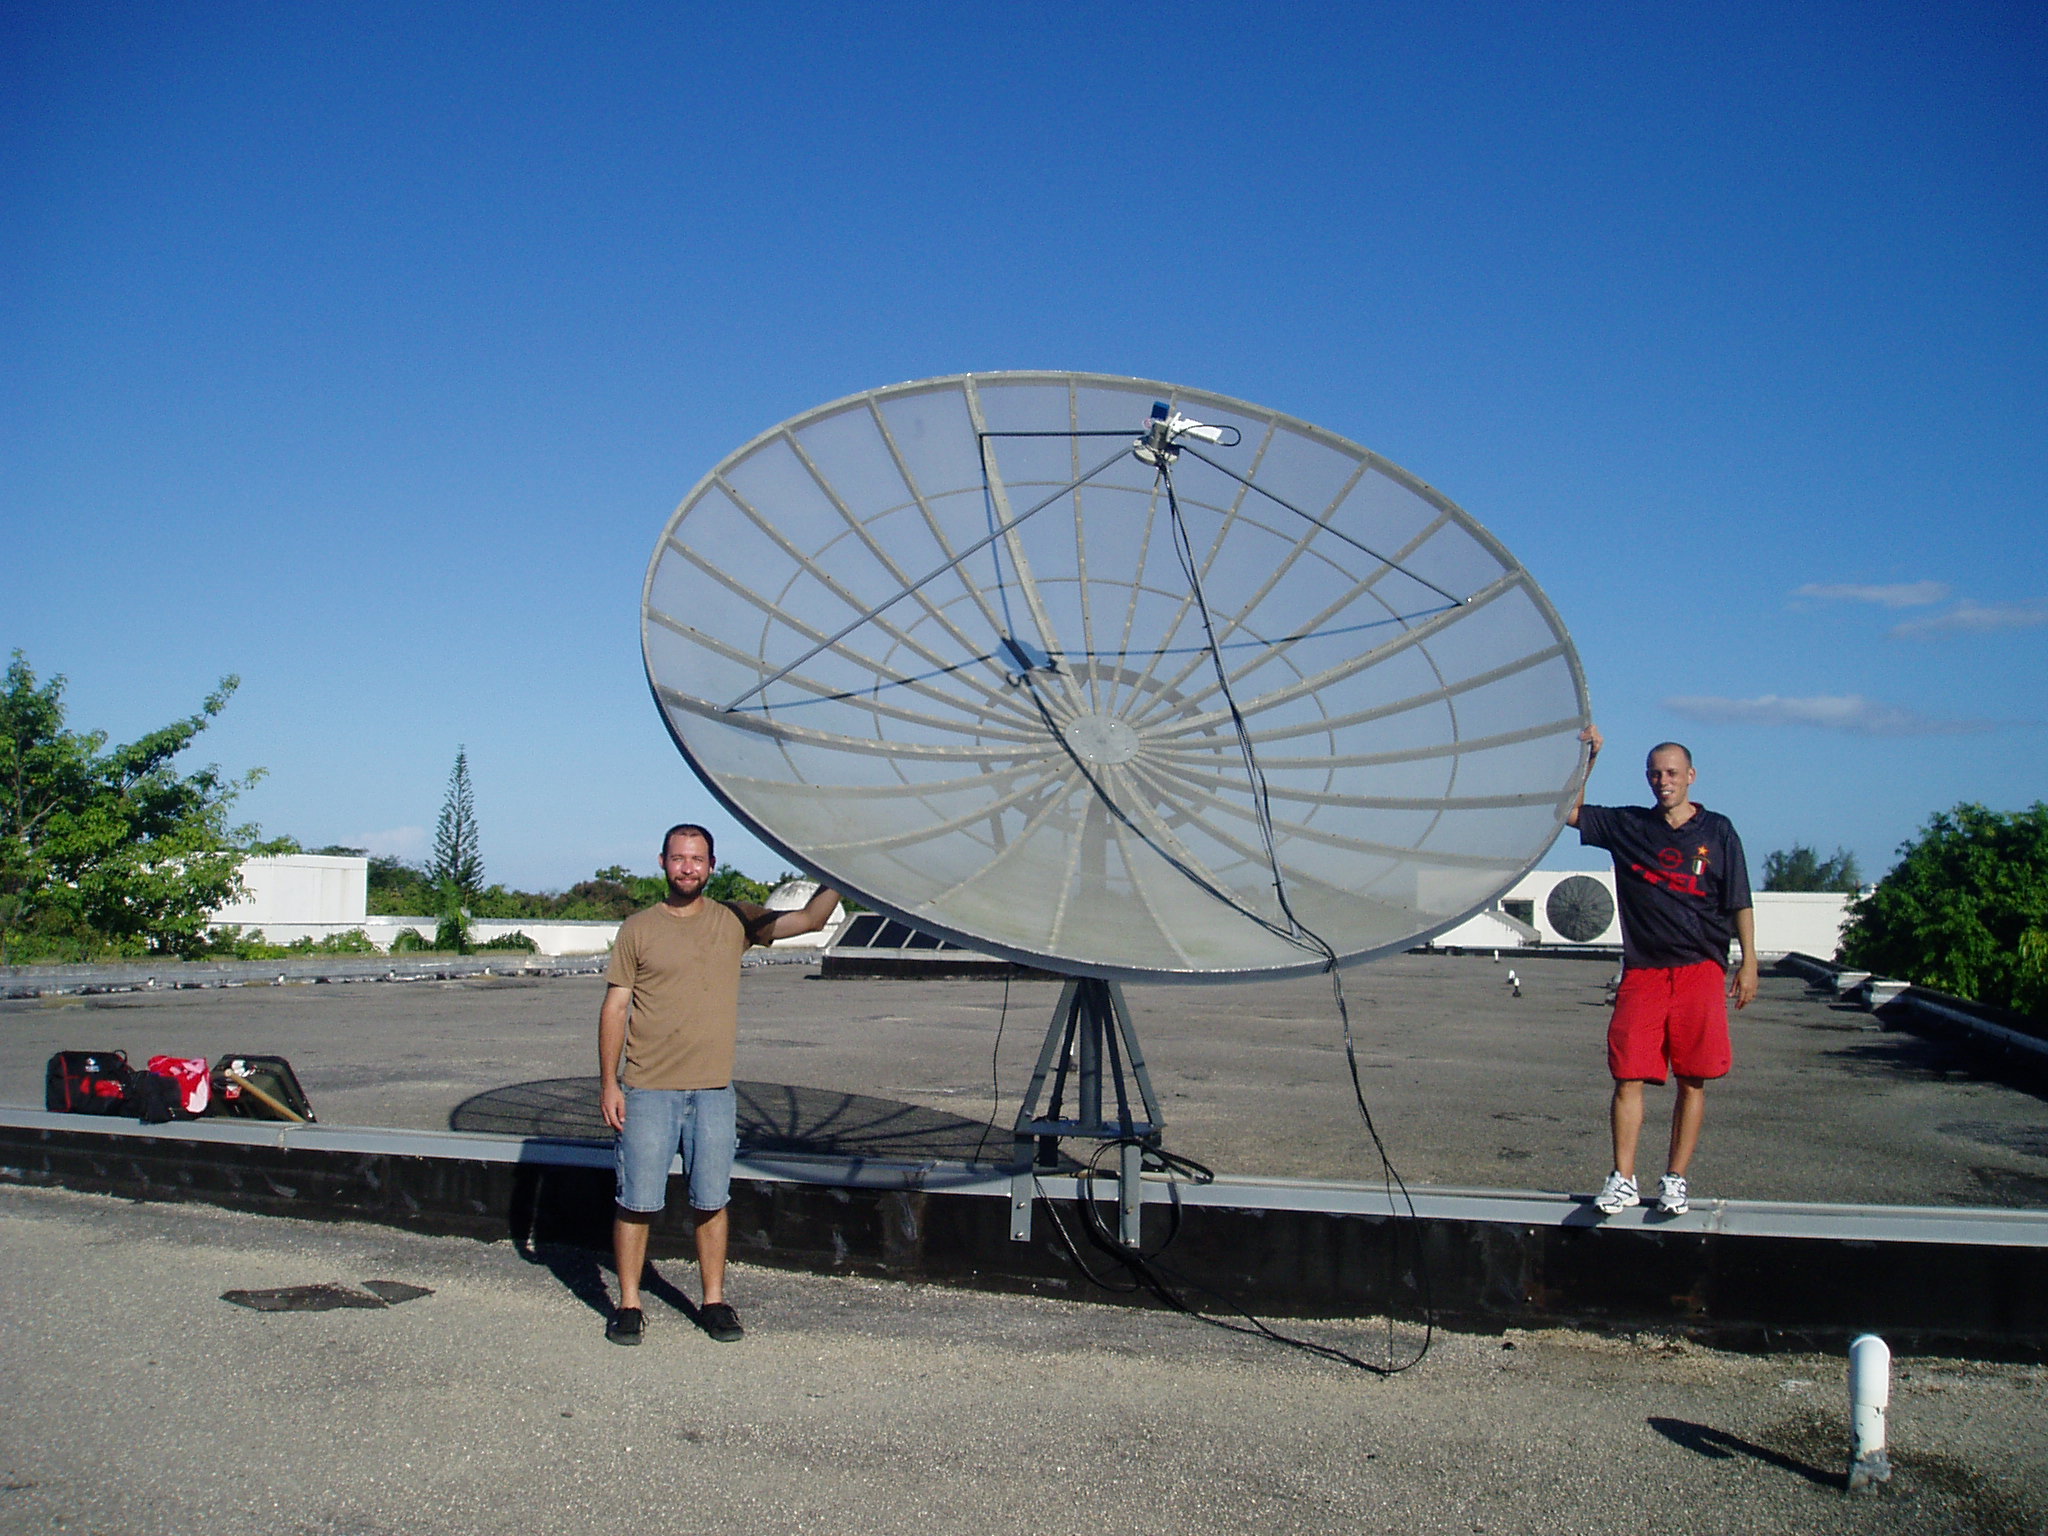
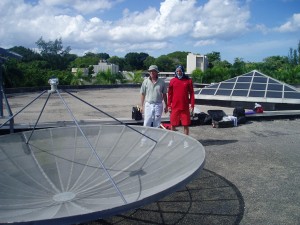
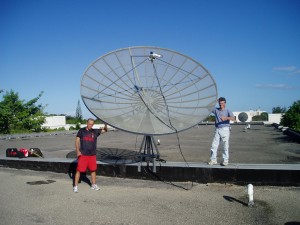
After finding the optimal azimuth the final adjustments are made
and our work was finished, as Aldo and Care here show off.
|

|
|
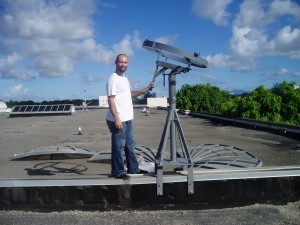
Since I was proud of it too, I had to be in at least one photo,
which Aldo took.
|
|
|
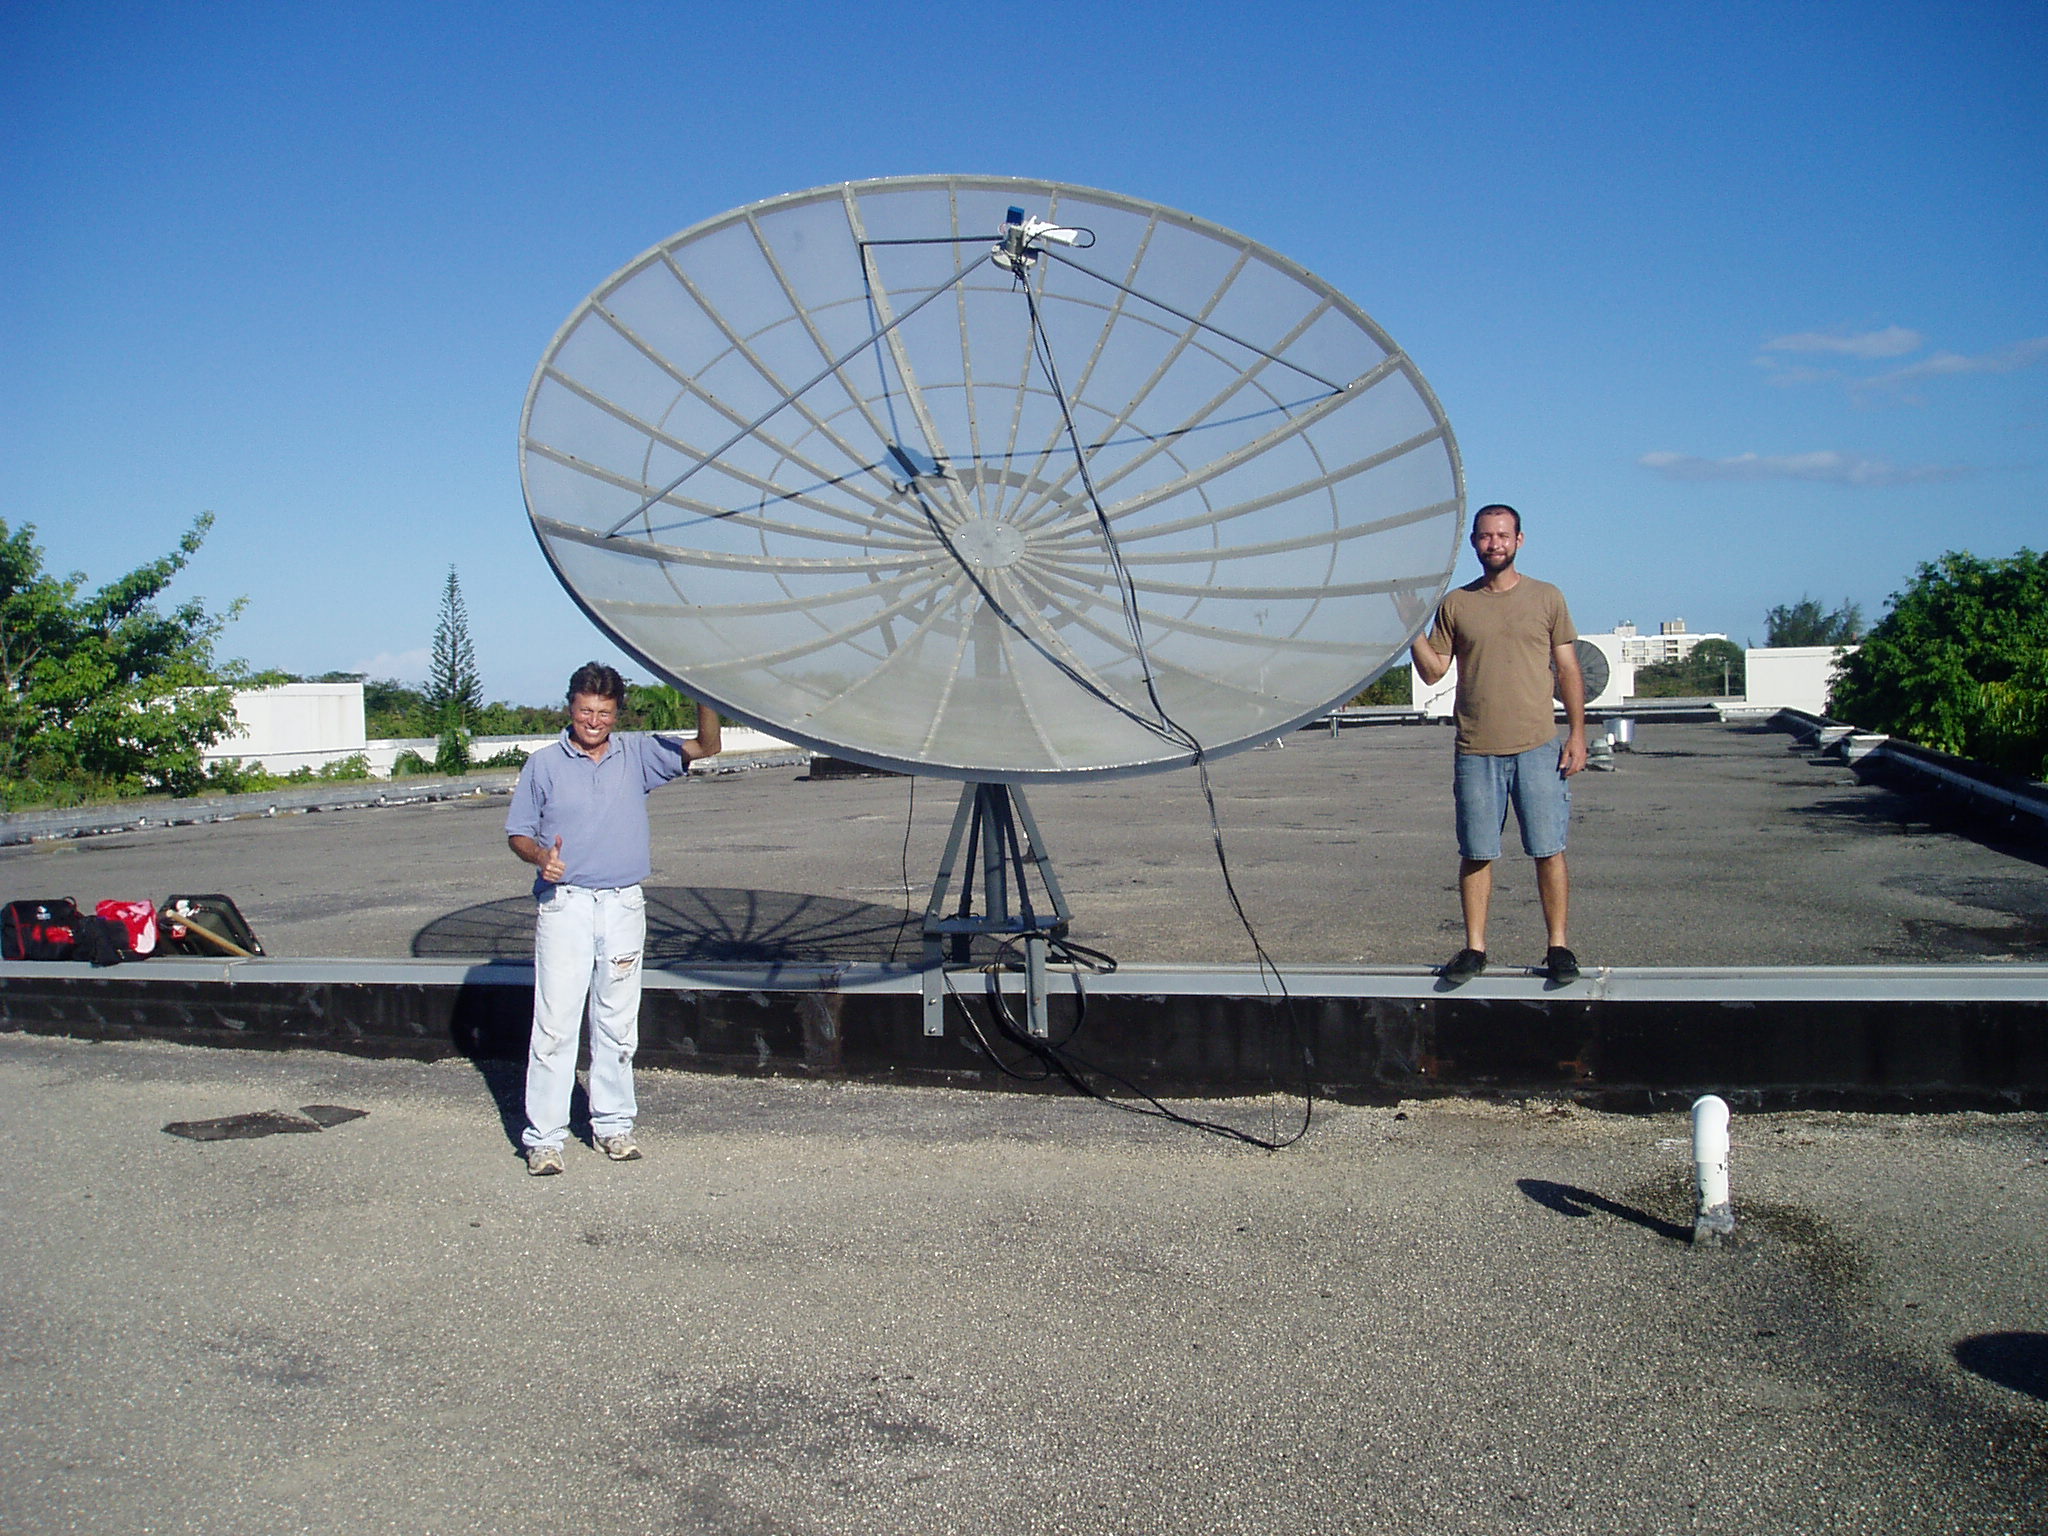
And since Aldo wanted a photo with his professor, here I am again,
with Aldo, in a photo taken by Care.
|

|
|
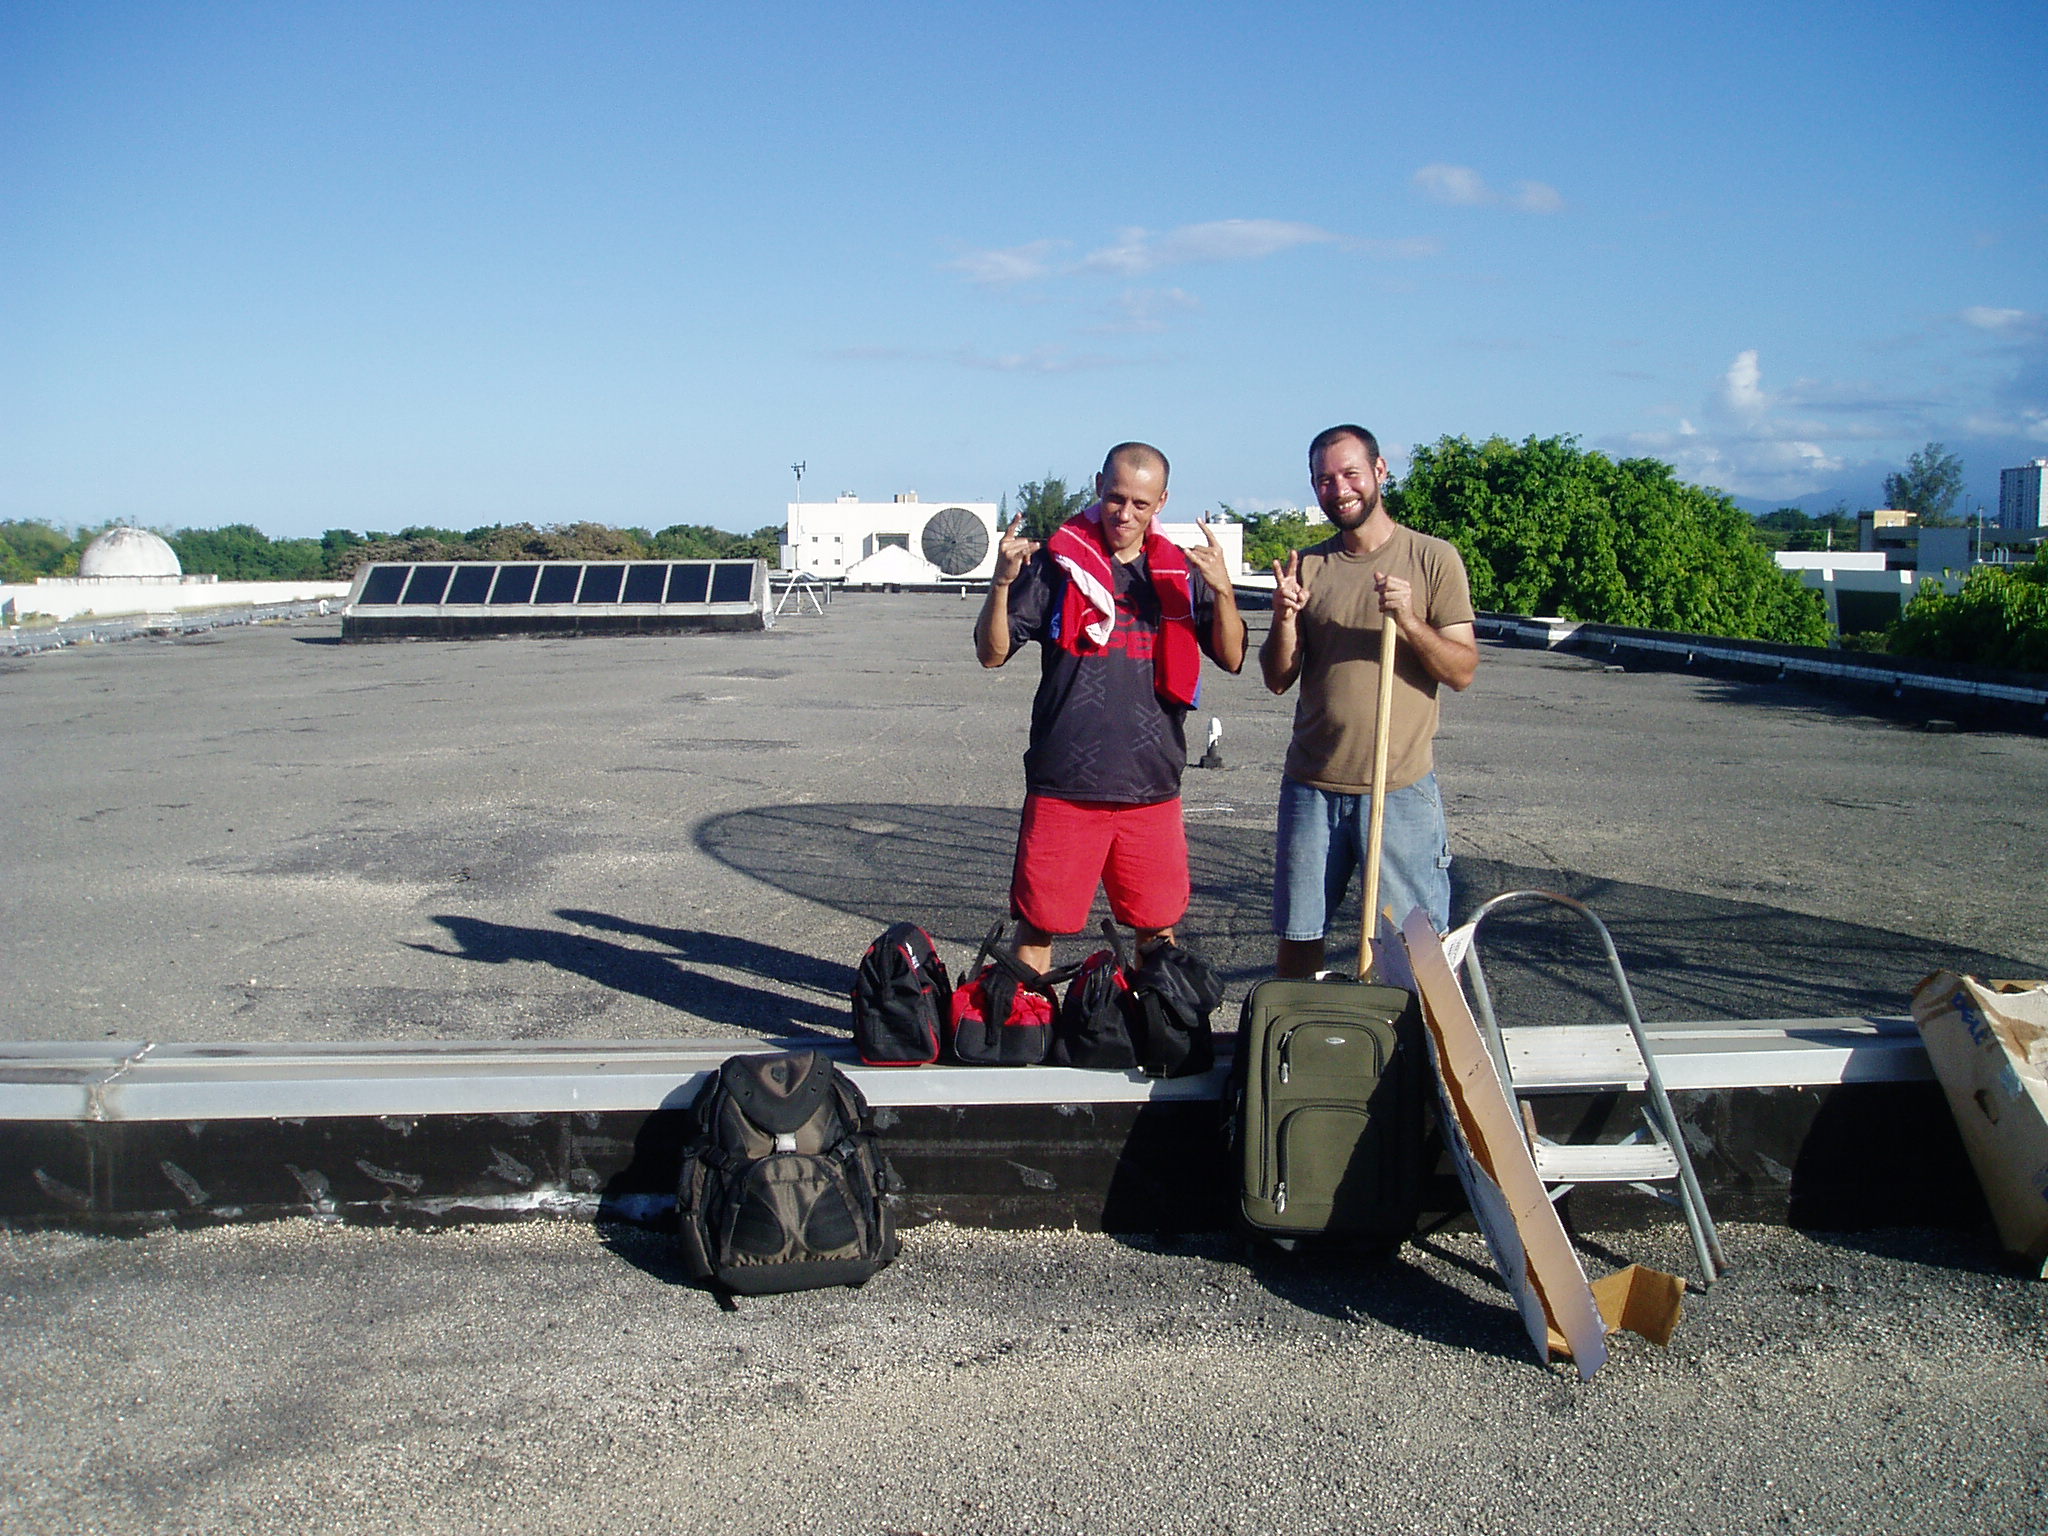
And, after a very productive stay on that roof, Aldo and Care have
everything packed up and ready to leave.
|

|